Synthetic Turf for Putting
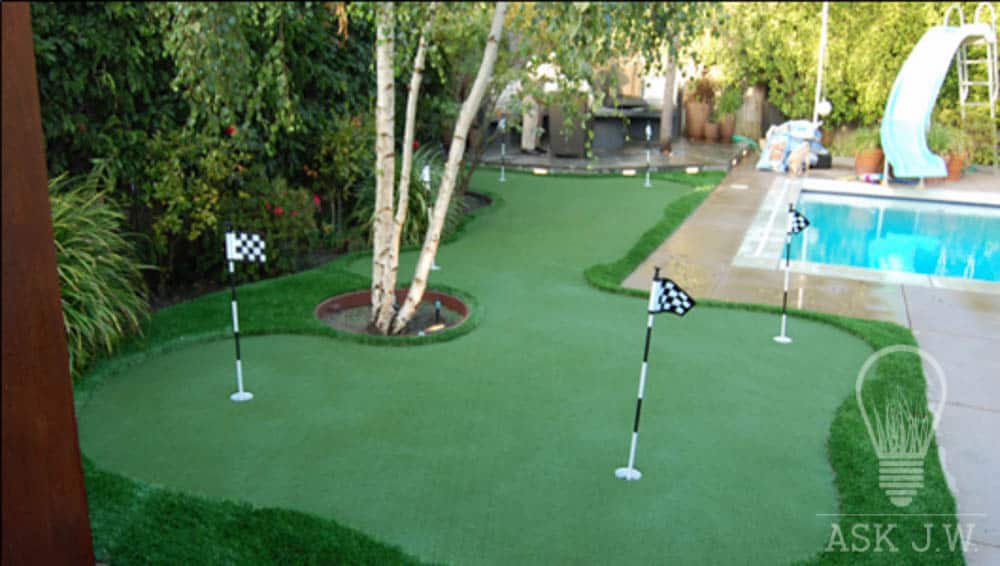
Making sure your putting green is installed properly
“How many synthetic turf contractors or their installers actually understands golf?”
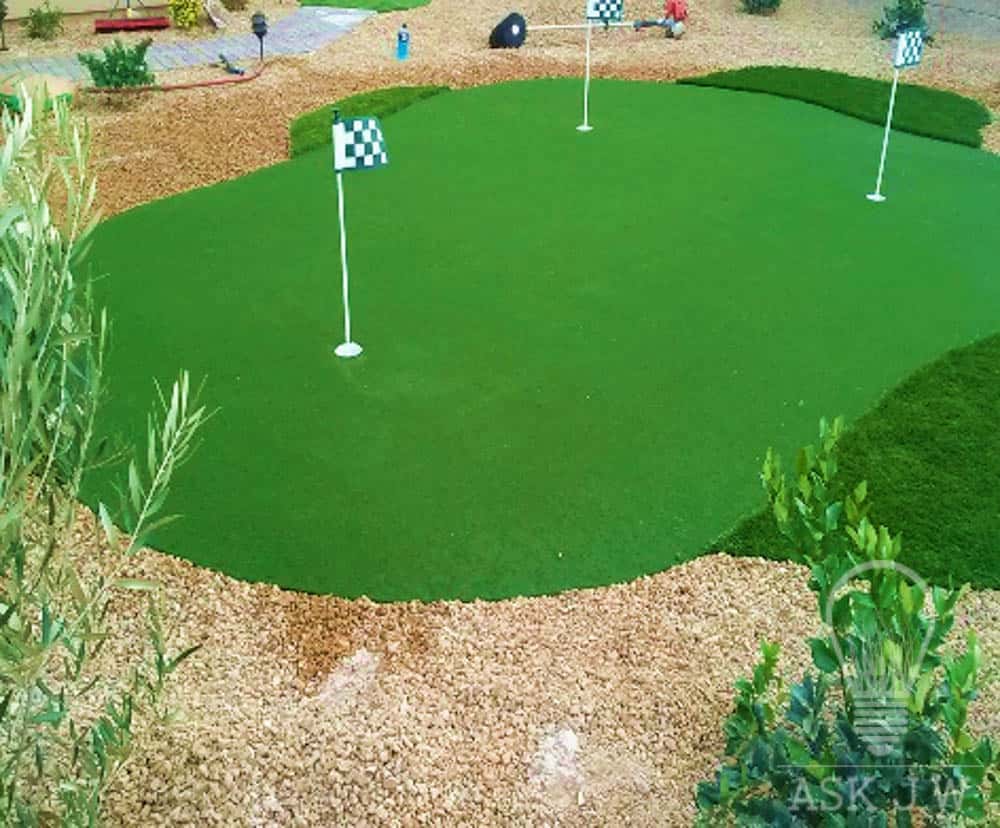
Over the years I have experienced synthetic turf contractors having to remove and replace entire putting greens all because the installers did not understand the placement of the putting green cups. Understanding the installation of the putting green cups can make or break your newly placed putting green.
Teaching the frontline installers that the putting green cup installation is the most crucial component of the putting green practice system. Below are important factors to consider when installing a putting green practice system.
• Surface around the 3’ radius line of putting cups is not smooth or flat
• Ball stoppage or misdirection at the 3’ radius line at putting green cups
• Sinking or upheaval of putting green cups
• Tilted flags
• Putting green cup at improper elevation to the putting green surface
“When putting green cups are installed properly, the only way a golfer can miss the hole is by needing more practice. Make sure he doesn’t blame the putting green installation for his miss”. Ask JW
This month ASK JW will teach you the proper way to install putting green cups.
Grading and compaction of sub-grade materials
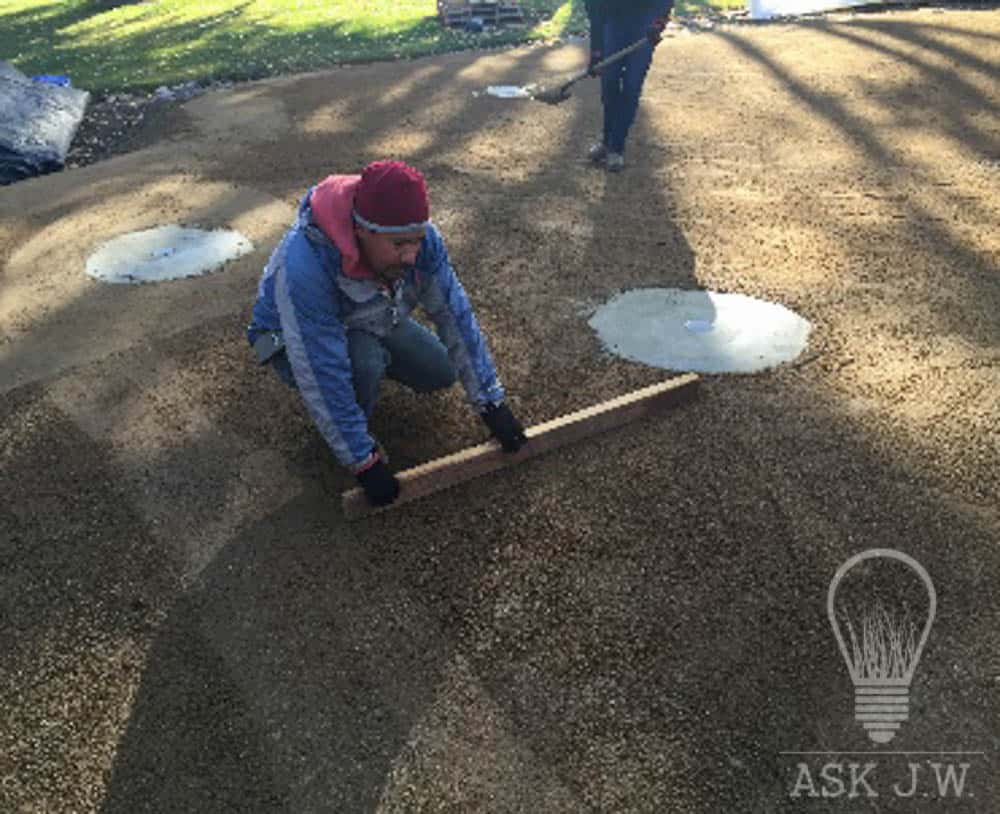
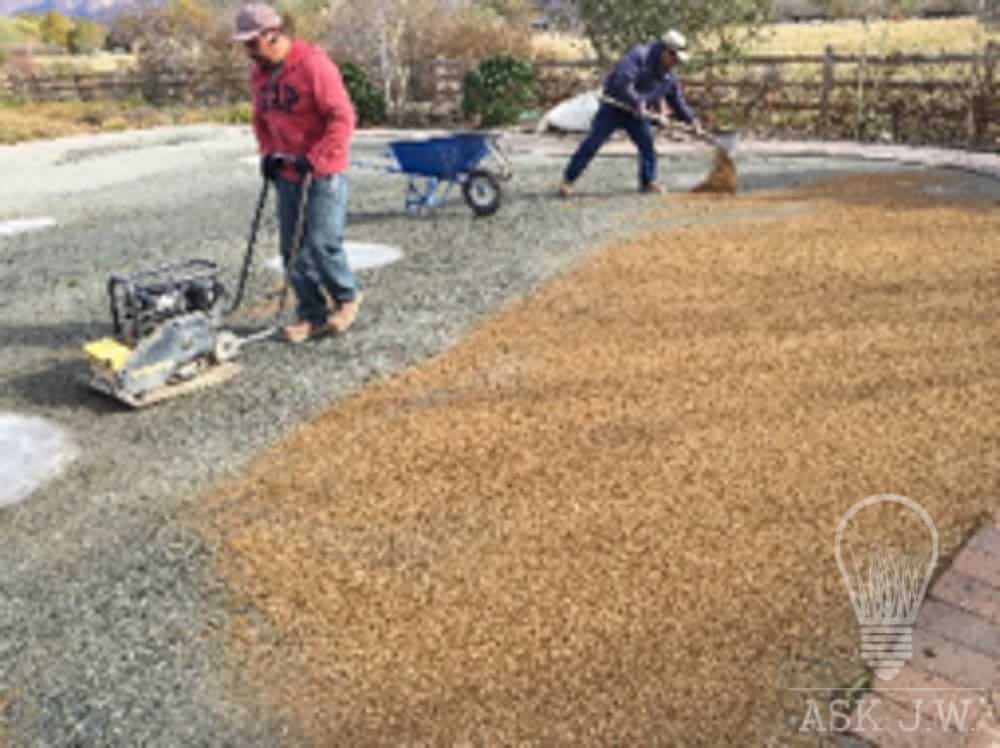
Grading and compaction of sub-grade materials is very important for the rolling of the golf ball. I recommend placing either chat or decomposed granite below the putting green surface. When the grading is complete, the underlying surface should be equally smooth without any compactor lines or small holes. If the sub grade materials are not smooth, the golfer will complain about irregular “Ball roll”. It is especially important that the area around the putting green cup be consistent.
If you are going to use type II or road base as your grading materials, I recommend placing 1 inch of chat or decomposed granite on top and compact to complete a smooth surface. Type II and road base has too much aggregate (rock) and will cause problems with proper “ball roll”.
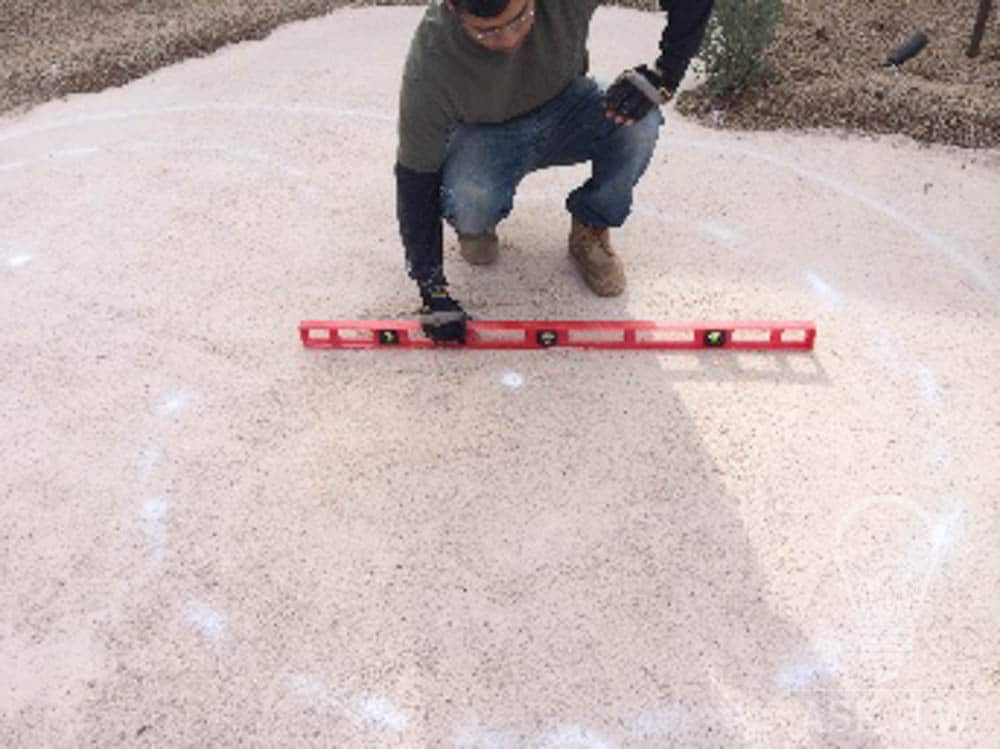
When the grading and compaction of the sub grade materials are complete, take a level and check the 3’ radius around where the cup is to be placed to make sure it is flat without any imperfections. The 3’ radius around the putting green cup is very important to be flat, smooth and true. This where the golf ball will need your grading talents to simulate real play without the golf ball stopping or curving away from the hole due to improper grading.
Excavation of the hole
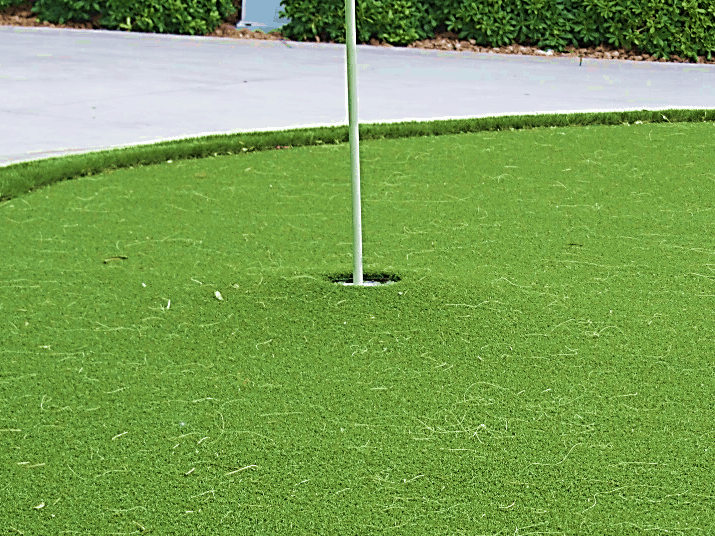
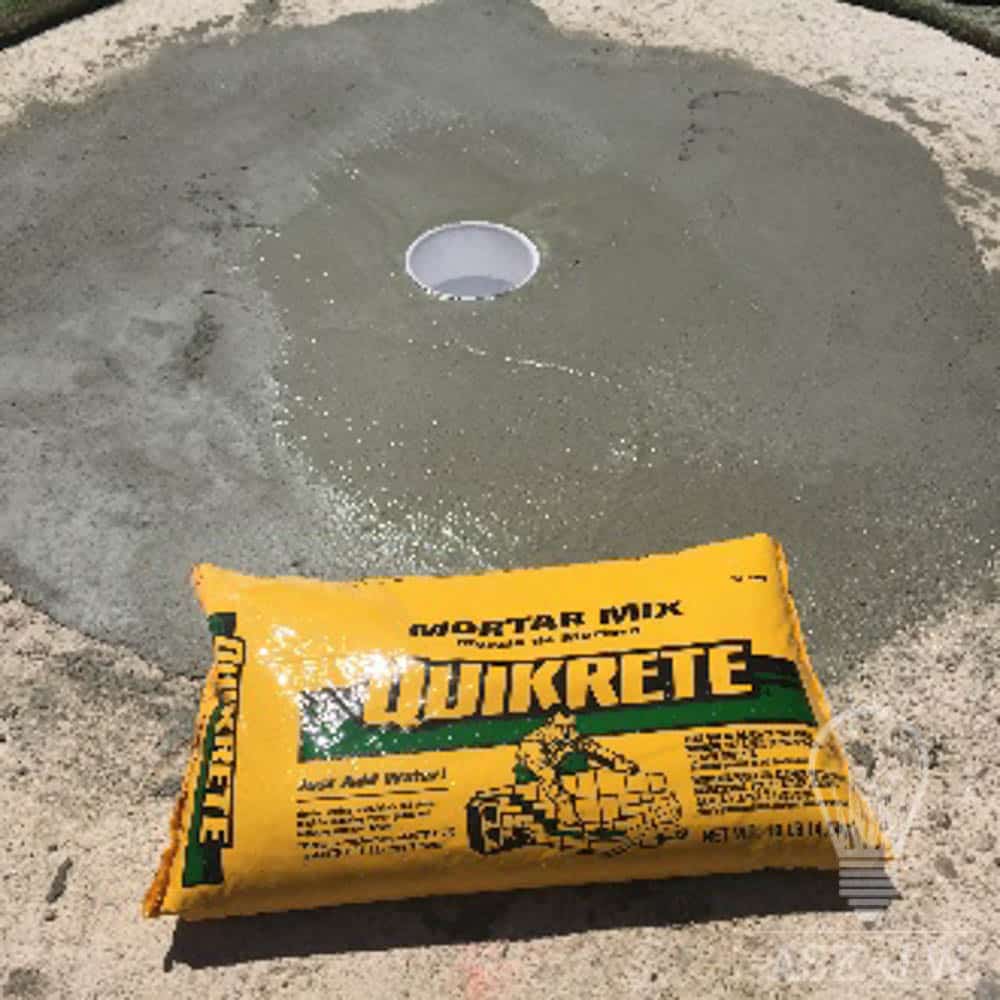
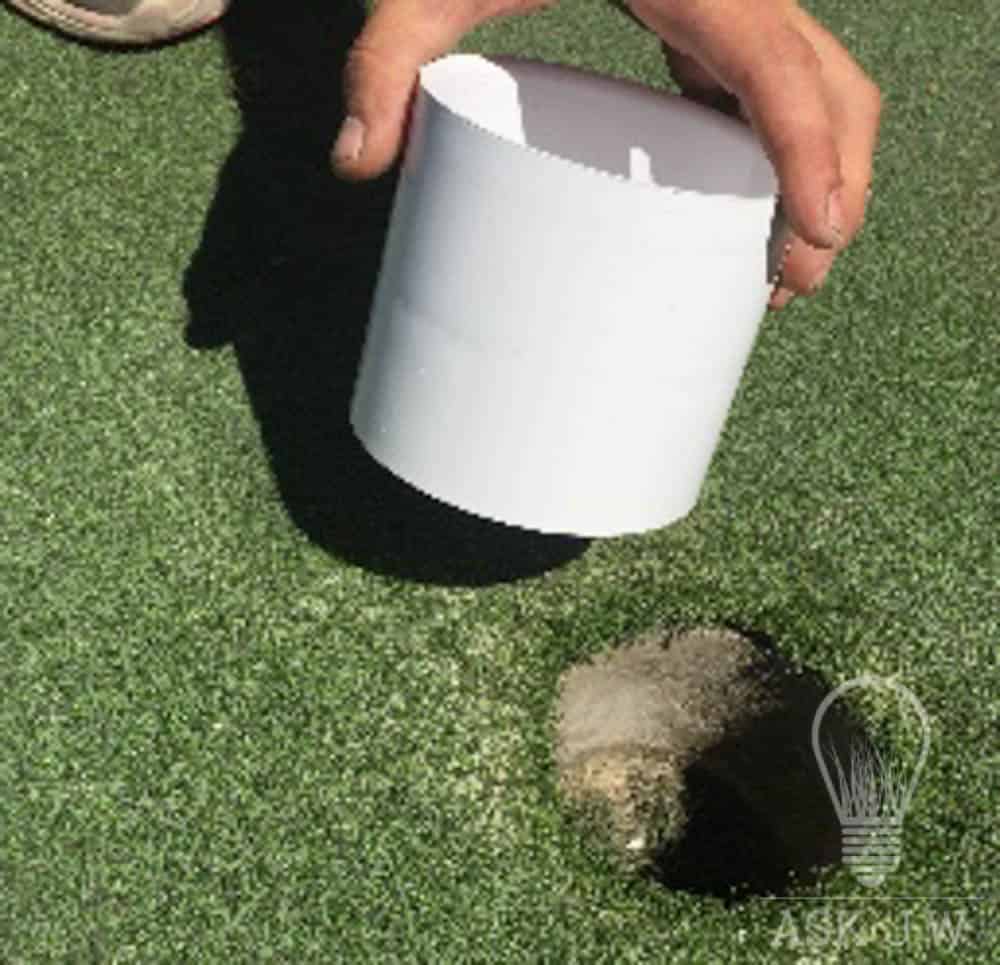
Many synthetic turf contractors place the putting green cups in dirt and compact around the cup. I highly recommend placing putting green cups in concrete mortar. When placing putting green cups in compacted dirt the cups tend to shift due to loosening of the soils caused by rain water, foot traffic, and excessive pulling the flag in and out of the cup. When the putting green cup is not stable it will allow the cup to move or settle which causes the flags to tilt and/or cause a “volcano effect” (picture below to the right). If this happens you will definitely be called back to remove and replace entire green.
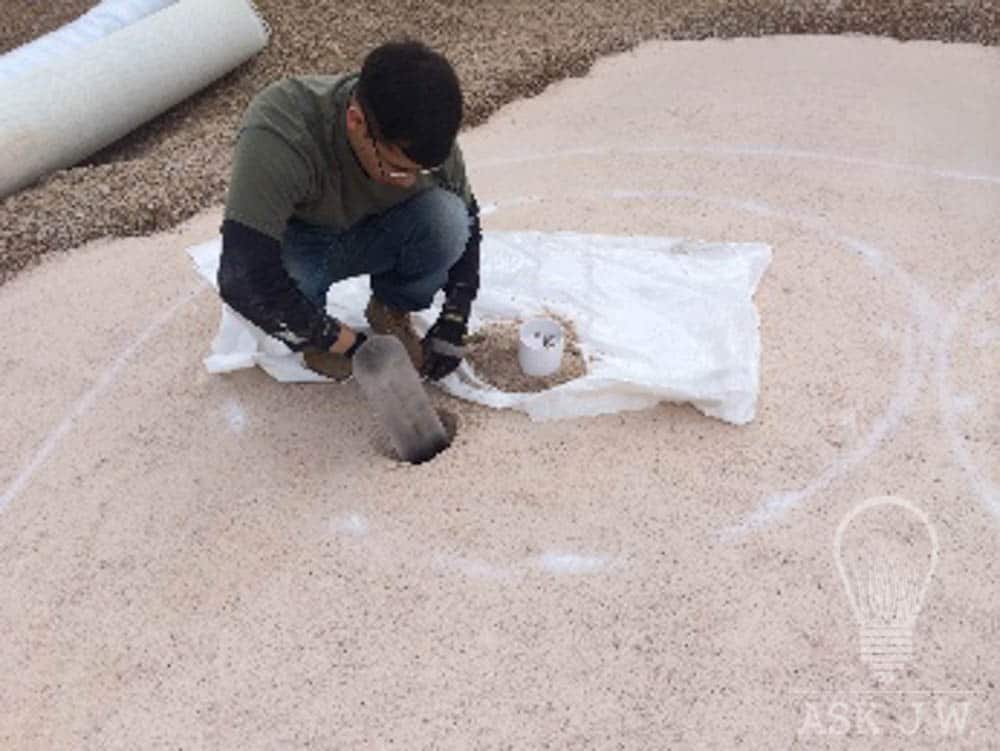
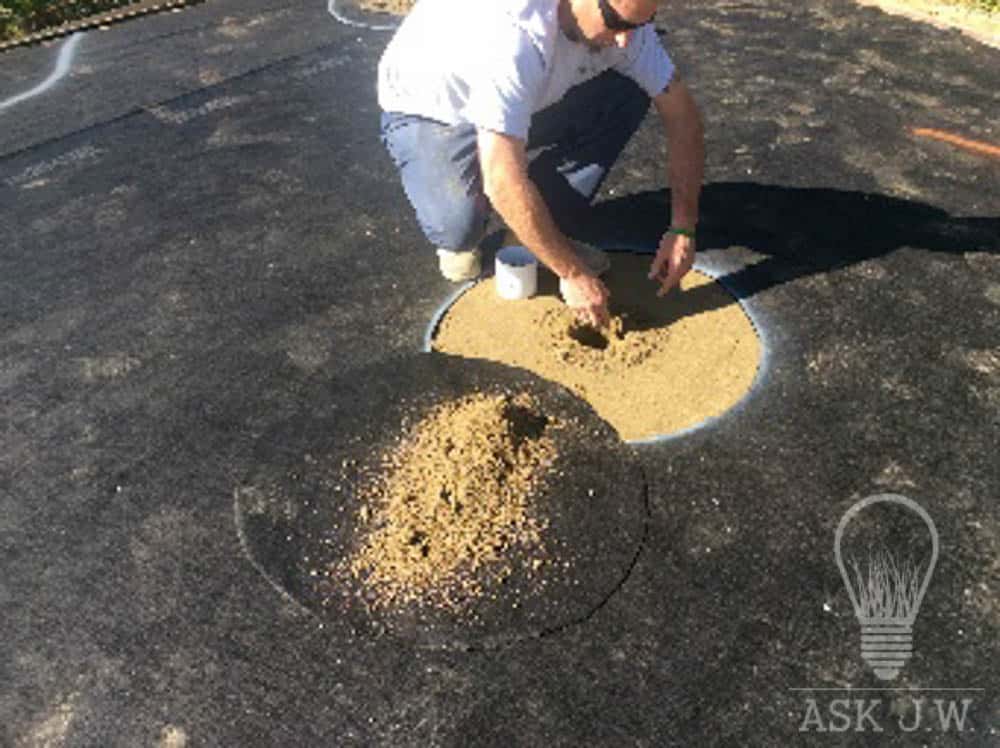
Depending on the cup size, it is my recommendation that the excavation of the hole for embedding the cup should be a minimum of 2” around the exterior of the cups diameter. This will allow for the poured and placed concrete to wrap around the entire cup. The hole should be excavated 1” deeper than the putting green cup height. When excavating the cup hole, I recommend placing weed barrier or a plastic bag to put the excavated soils on. This will prevent the excavated soils from disturbing the compacted sub grade surface.
Concrete Cylinders
Creating a film on the putting green cup and placing concrete around its perimeter will create a concrete cylinder which will allow the cup to rotate for height adjustment when the concrete mortar is cured.
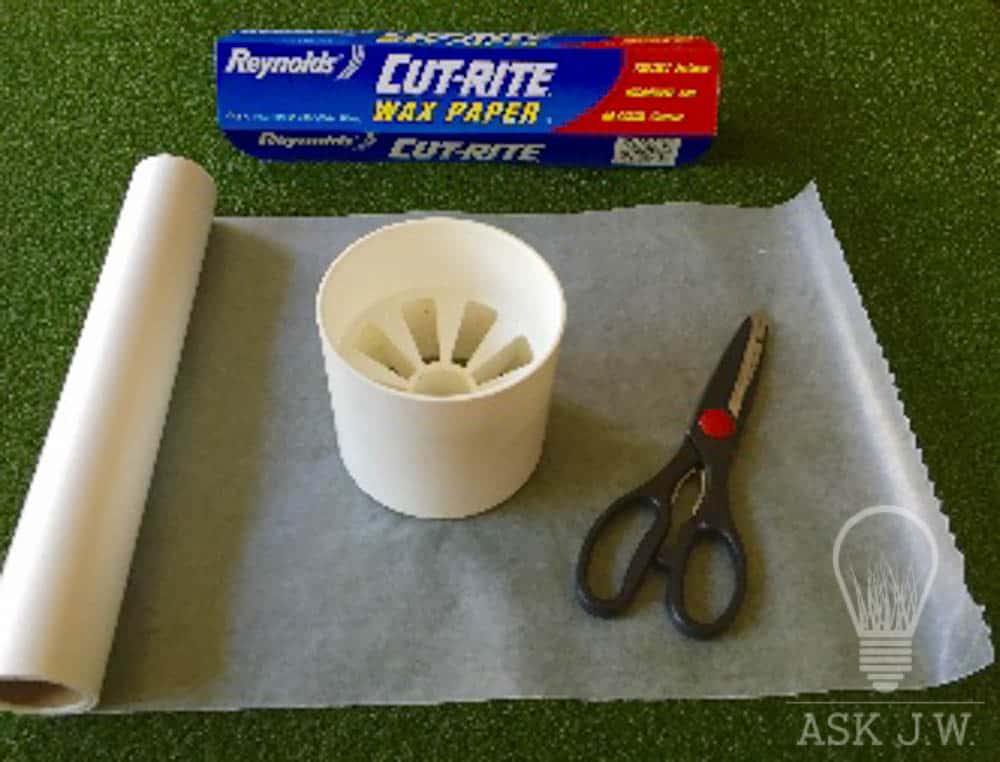
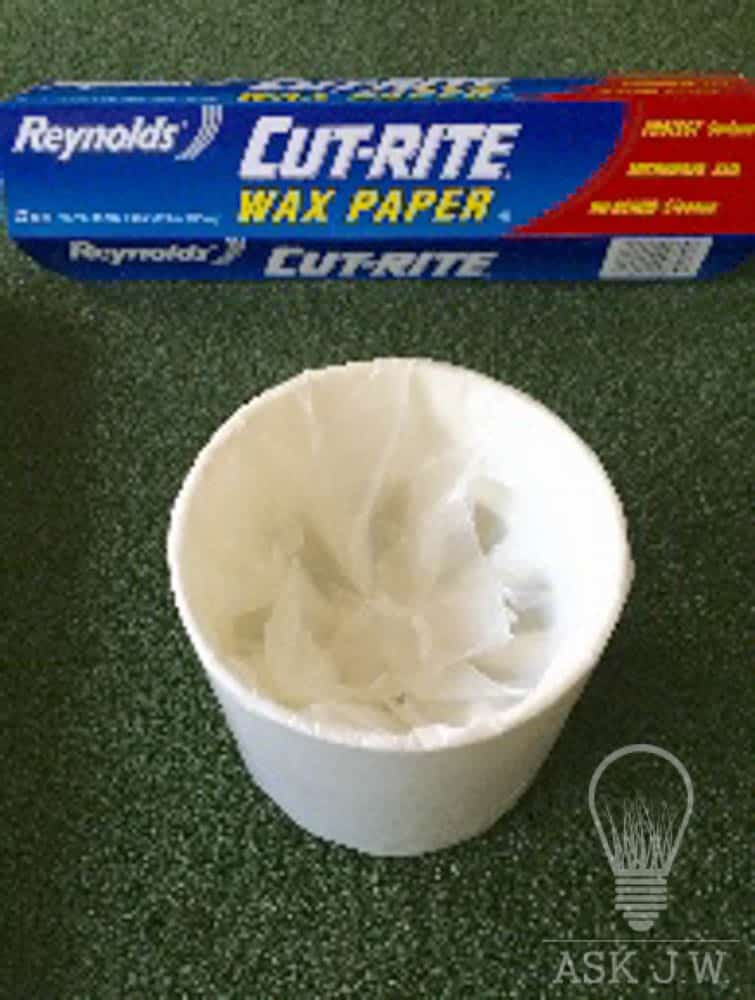
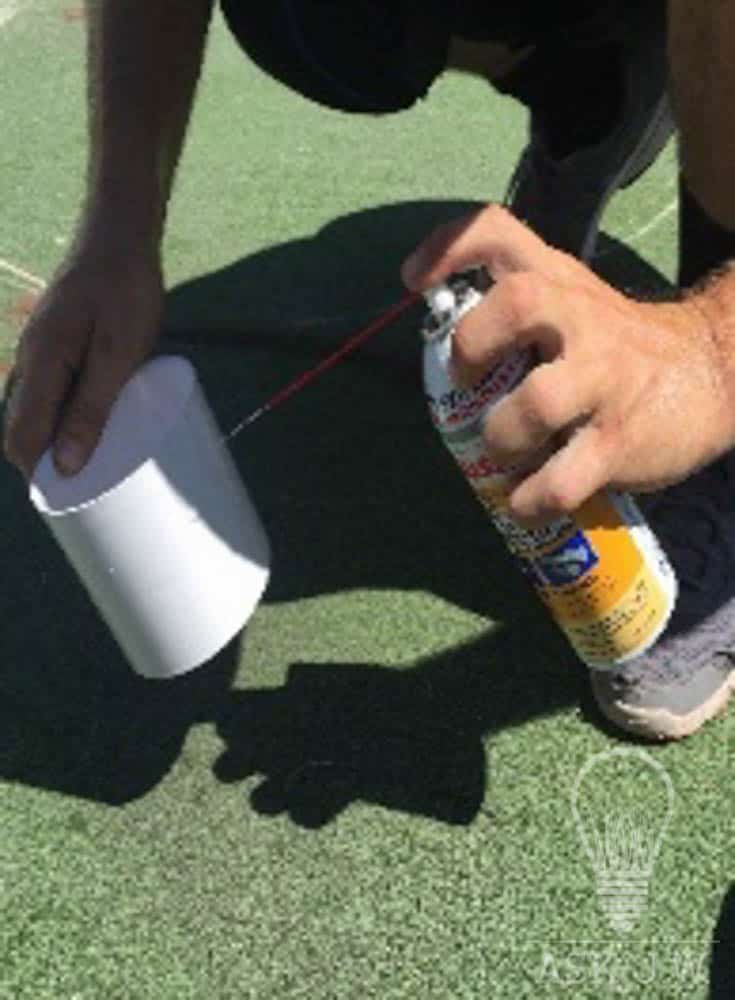
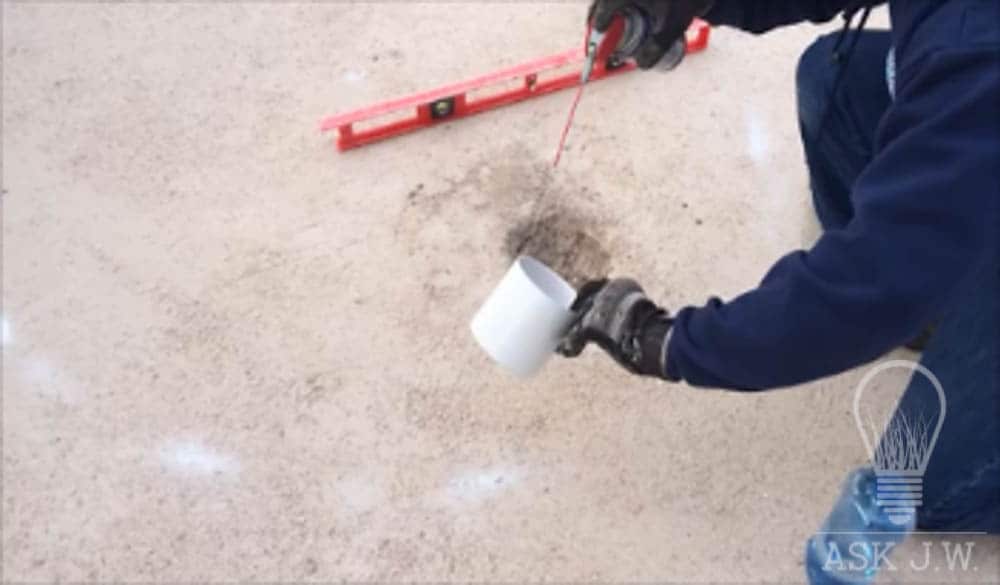
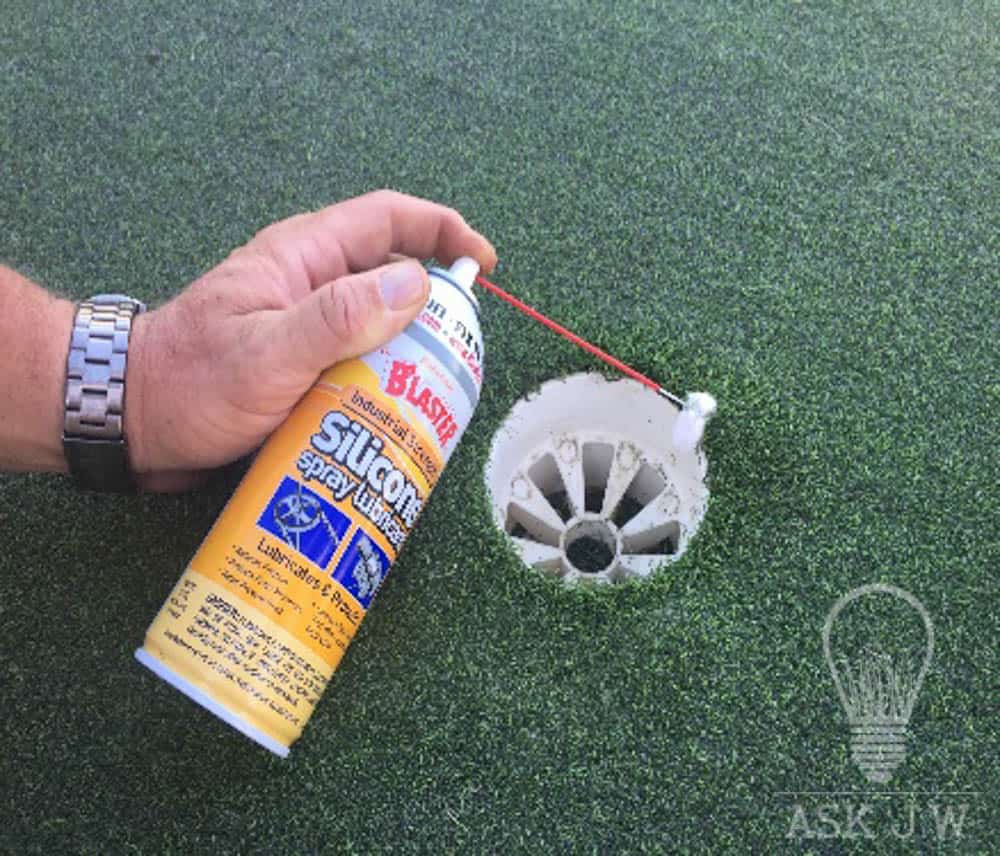
I recommend two options for creating a film around the putting green cup. I recommend WD40/Silicone lubricant or Wax Paper to create a lubricated surface to allow the exterior putting green cup to be able to slide up and down after the poured and placed concrete cured.
WAX PAPER – Take the putting green cup and place wax paper around its surface tightly.
WD40/Silicone Lubricant – Take the putting green cup and spray the complete surface with WD40/Silicone Lubricant.
Tutorial of putting green cup installation
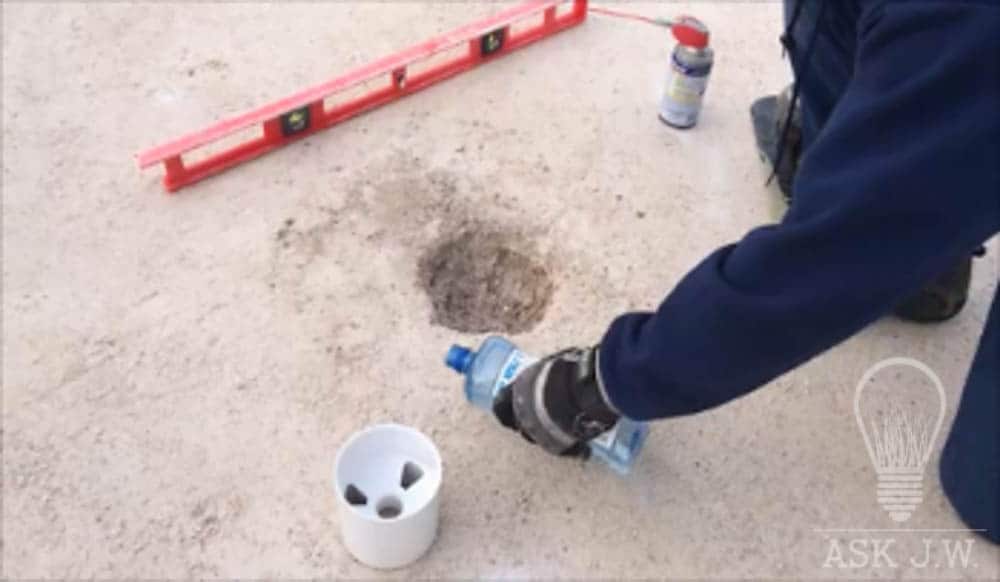
Here is an instructional video that will assist you in the installation of a putting green cup.
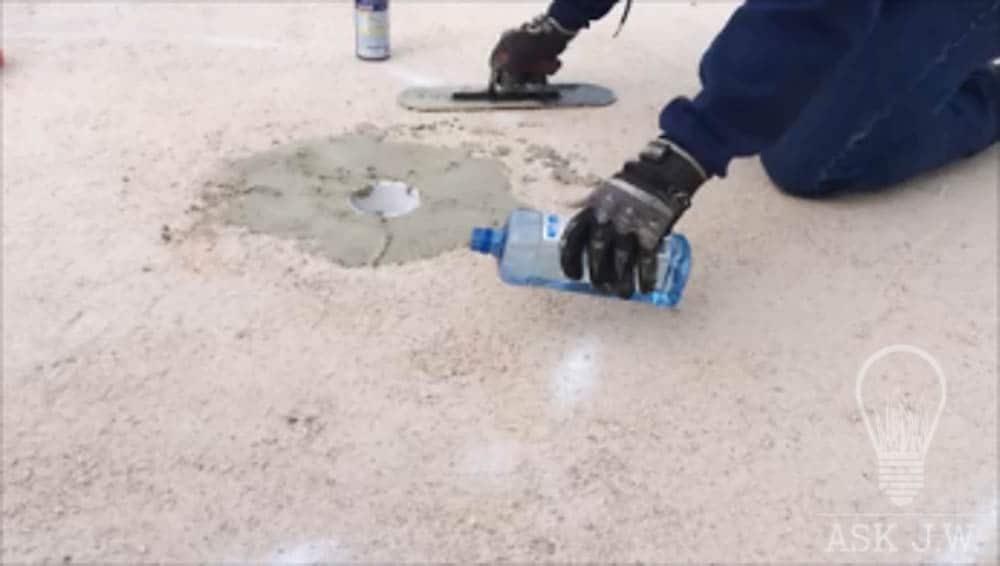
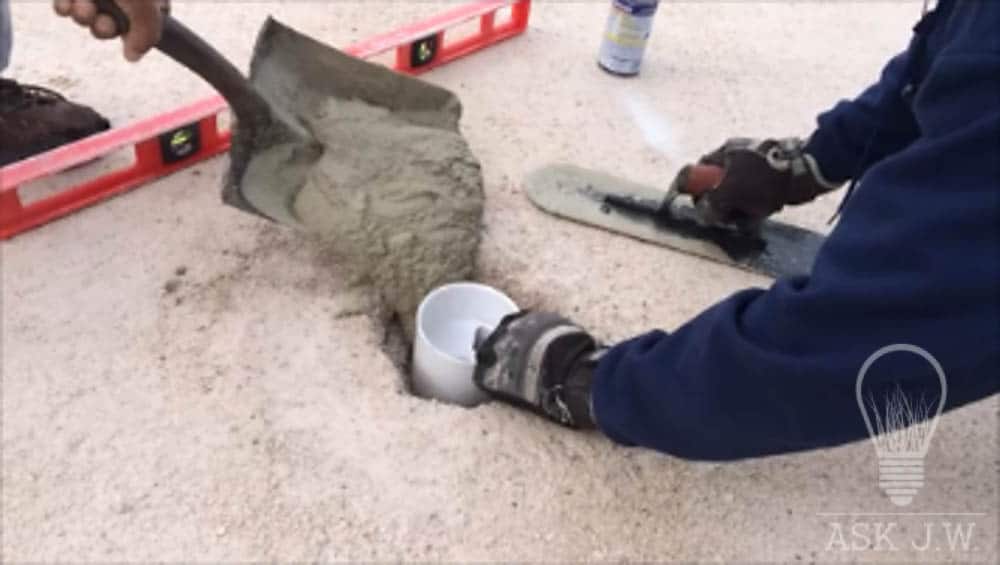
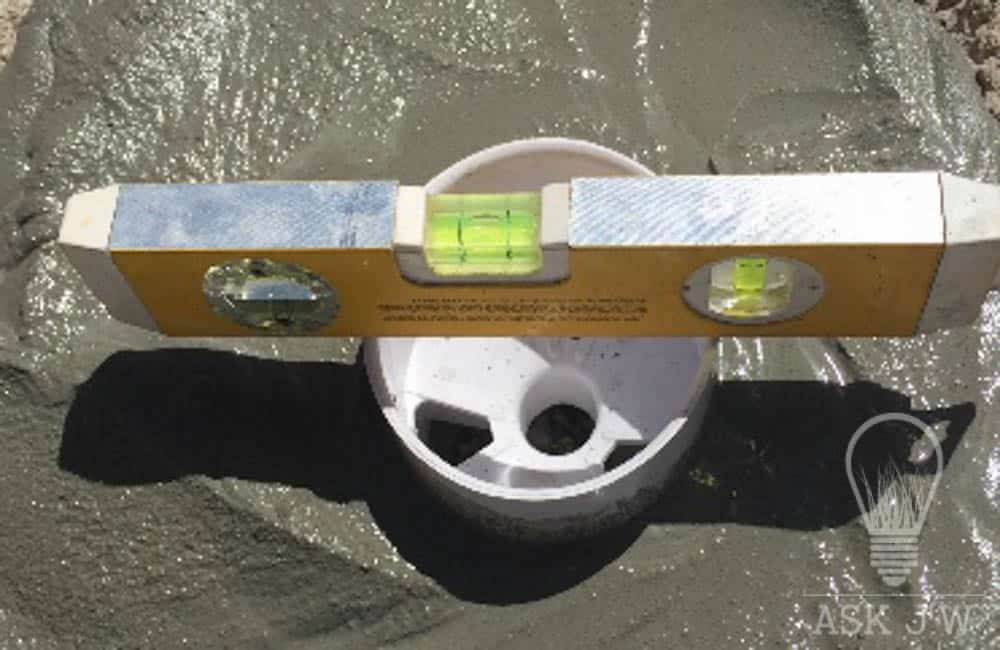
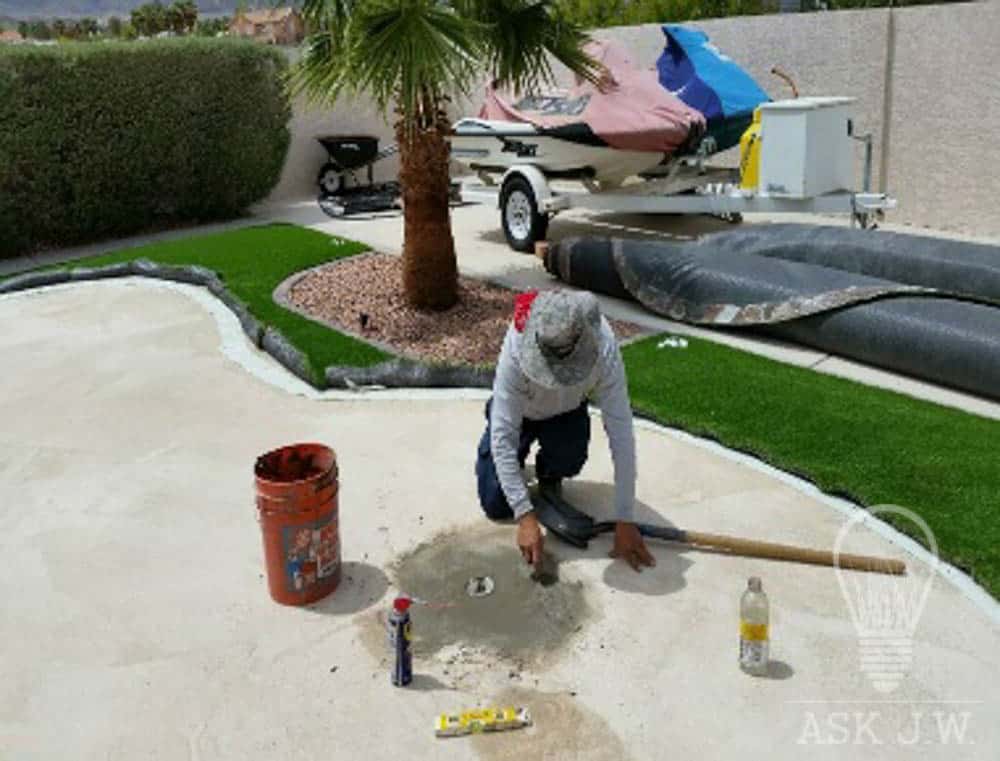
Once the hole is excavated and cleaned out, it is best to wet down the soils surface inside and around the hole with water to prevent the concrete mortar from drying out too fast and shrinking. This will which make for a smoother finish around the cup. Place the mixed concrete mortar around the cups perimeter and level the concrete mortar to the surface of the compacted sub grade. Reach inside the cup and vibrate/shake allowing any air bubbles to escape. This process will create a concrete cylinder when the concrete is dry and cured.
Use a torpedo or 4’level and constantly check the elevation and levelness.
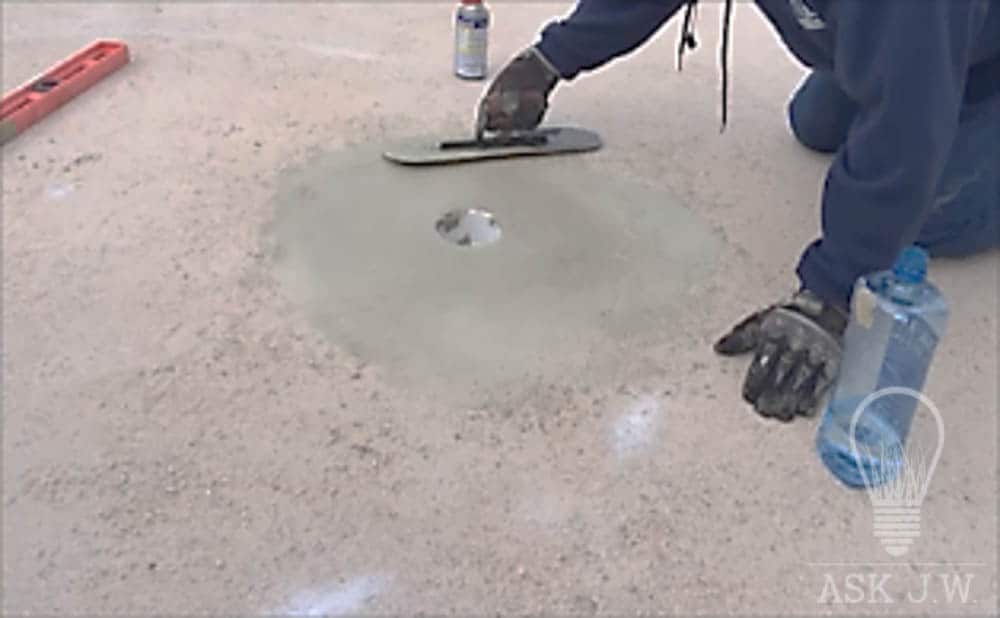
Take a round pool trowel or mason trowel and smooth out the surface evenly with the compacted finish grade. Place 1/8” of concrete mortar cream approximately 18” on top of the compacted sub grade around entire cup. This will create a flat smooth surface to prevent ball stoppage and any irregularity around the putting green cup.
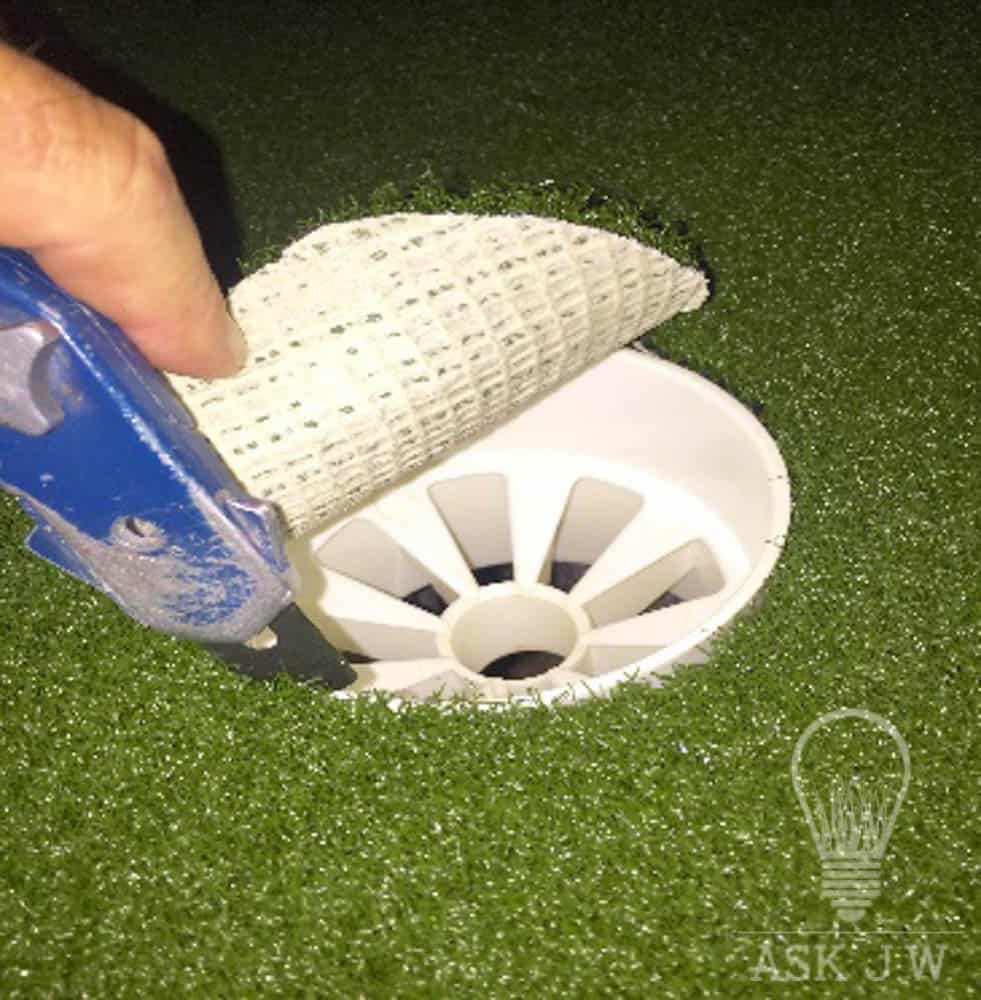
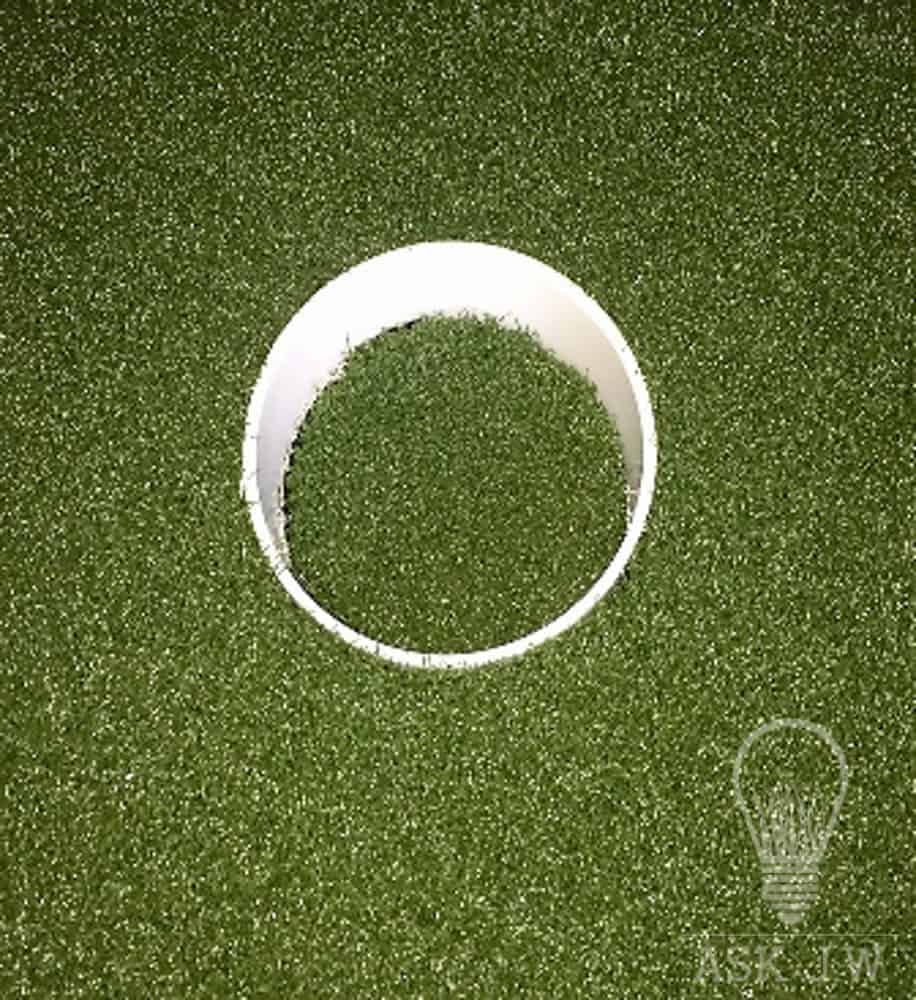
When the putting green cup installation is complete, place the desired putting green surface over the cup and precisely cut the putting green turf around the perimeter of the cup. I recommend taking the piece that was cut out and push it down into the cup. This will prevent the sand infill to drop to base of the cup and will make it easier to clean out.
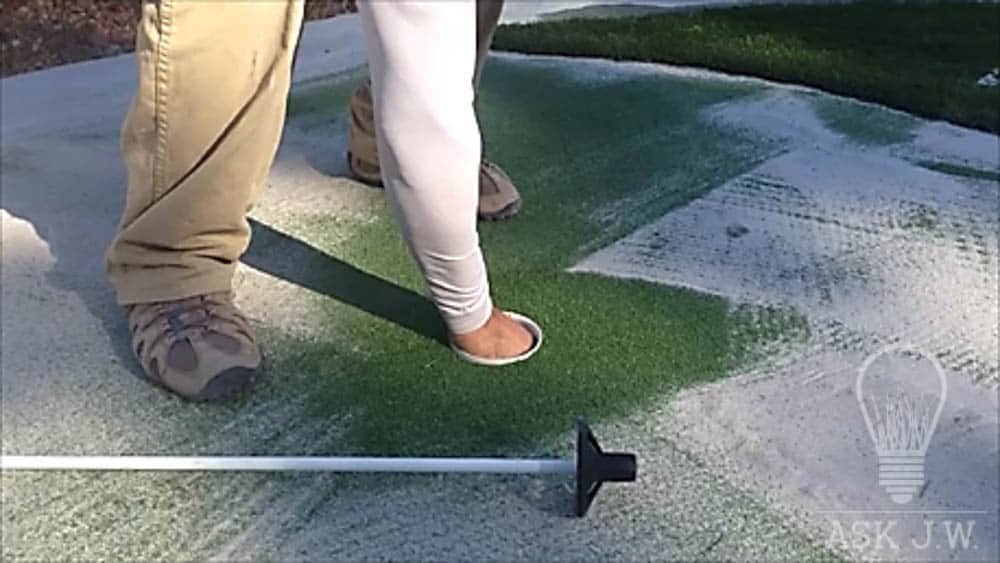
Depending on the outside temperature, carefully spin the cup every 5-10 minutes until the concrete has fully cured. This will create a concrete cylinder that will allow the cup to spin and raise to the proper elevation at the putting greens surface. It will also allow you to replace the cup if it is ever damaged. (Watch video above)
Preventive measures
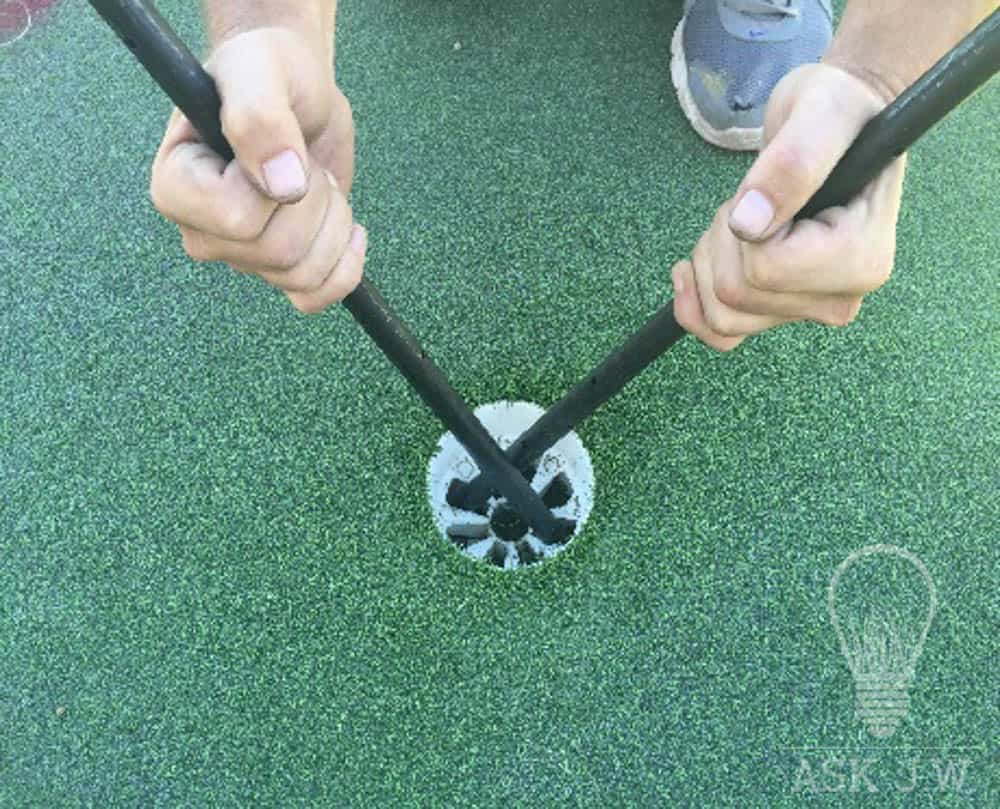
Putting green cups should be placed ¼ inch below putting green surface. Cups that are placed too low will need to be raised to the proper elevation. For existing putting green cups that are too low I recommend spraying WD40 or Silicone Lubricant around the cup and using two steel concrete stakes and spin carefully to raise the cup up to its proper elevation.
If a putting green cup is installed incorrectly, the cup will have to be removed which may cause the entire surface to be removed as well.
For more information regarding the installation of putting green cups contact J.W. askjw@sgwcorp.com or call 888.846.3598
Other Topics:

About SGW
Learn more about SGW

Certifications
IPEMA, Lead-Free, and CAD Details

Warranties
Our Industry Leading Warranties

Ask an expert
See if we’ve answered your questions

Media
Our tried and true steps for installation

Blog
Learn about our turf in depth
Here to help
Our Commitment
We are committed to providing the best artificial turf products at competitive prices. Our warehouse carries the most advanced synthetic grass products available, engineered to look and feel like real grass. Every turf product is made with high quality materials that are safe for everyone, especially children and pets.

Industry Leaders
SGW San Diego has always stood out among competitors, offering new products with the latest technology.

Service Oriented
The only thing better than our grass is our customer service. Our staff is committed to providing the best experience possible for our clients.

Quality Driven
At SGW San Diego we only offer products that maintains a high standard of quality. Backed by up to a 15 year warranty, the best in the industry.


